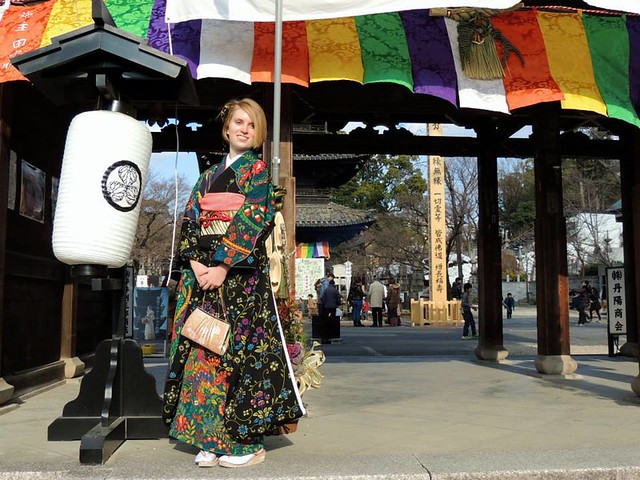
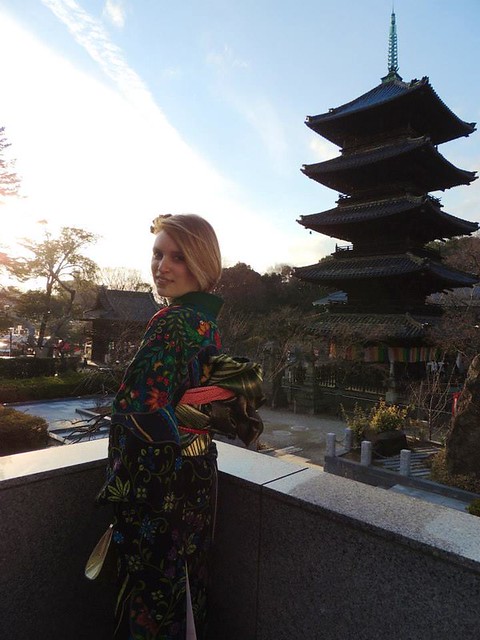
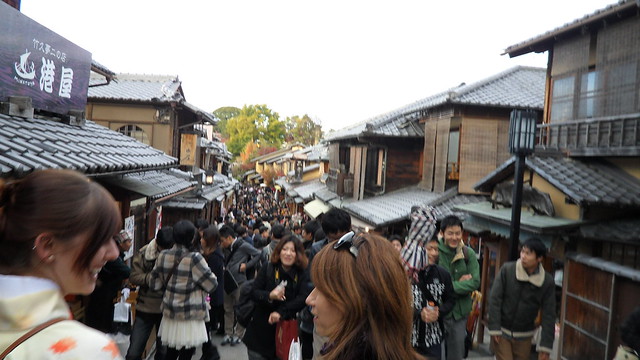
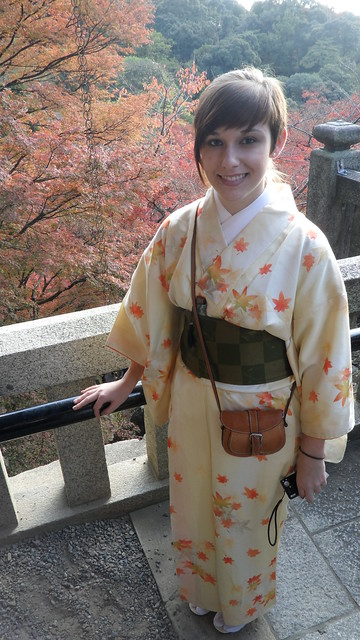
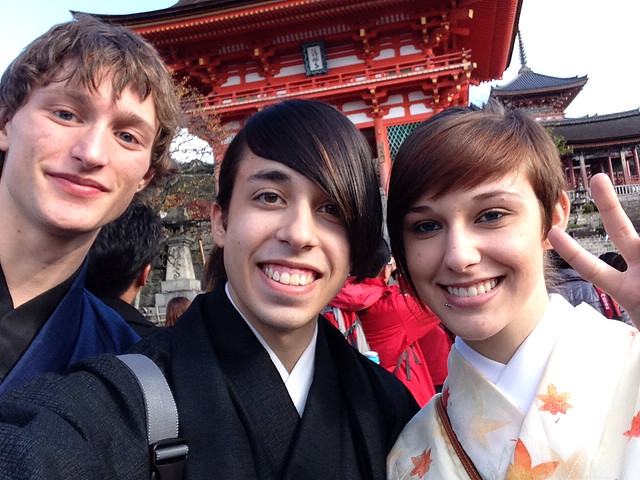
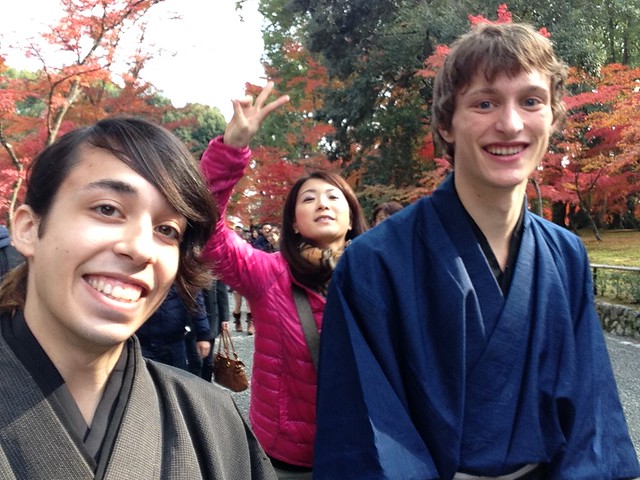
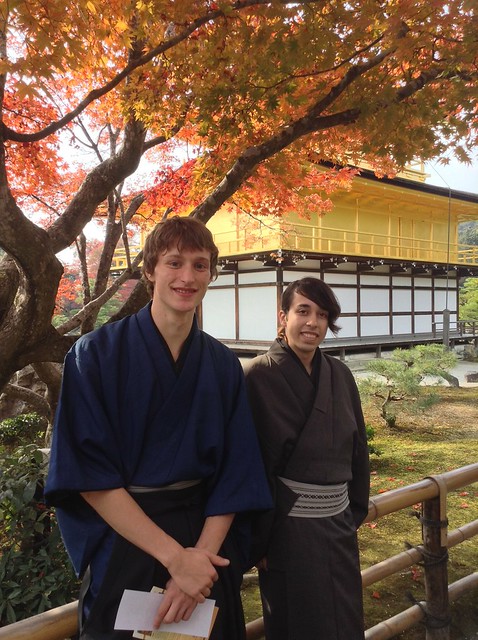
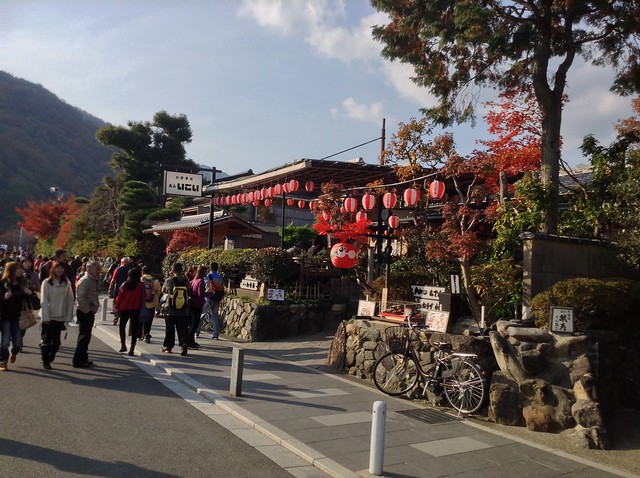
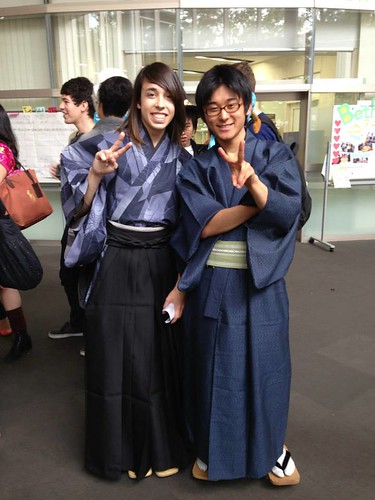
For the sake of having the information easily accessible for anyone browsing the blog, I’m going to put together a list of all the things you’ll need to wear kimono! I’m also going to give you the DIY for certain things, cause who wants to spend money when you don’t have to? If your starting from scratch, visit I want a kimono! So… now what: parts one and two first.
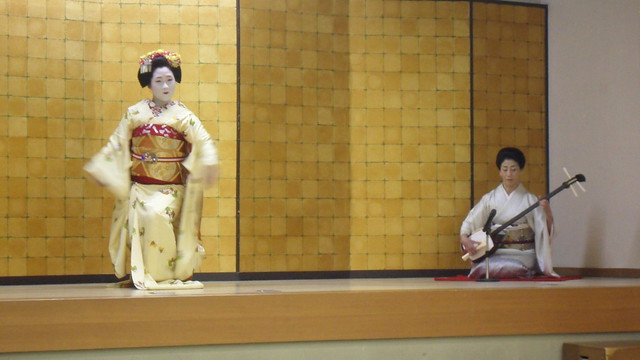
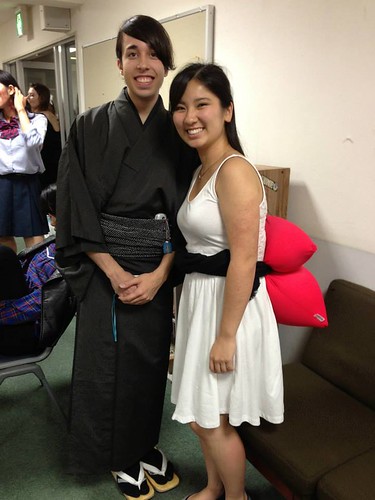
Yukata
- koshi-himo (1-3) (lengths of fabric used to secure the kimono or obi)
You’ll be using these to put your kimono on, or help you with your obi. Carrying a spare one of these with any kimono is never a bad idea! They make official koshi-himo for kimono, but if you have an elastic belt or shoe strings that can go around you twice, that works equally as well!

Yep! That’s it!
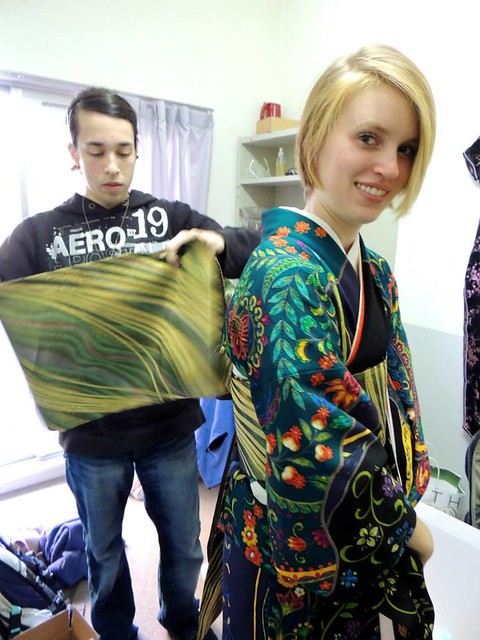
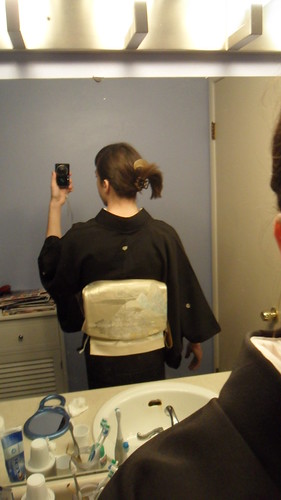
Kimono
These are pretty cheap and plentiful on eBay. You really only need one and they can be used for all kimono. They keep your skin oils and sweat off the kimono. You may want to trick yours out with a collar stay, or at least a safety pin and a shoelace (it will make a world of difference, I kid you not).
You’ll need at least 2 this time, 5 if you want to be safe, or depending on whether you’re using some other things (read ahead).
- date-jime (waist band) and/or korin belt (kind of like suspenders)
A date-jime is a waistband put under the obi to keep the kimono from becoming a mess and the collars from shifting. It can either be a strip of tightly woven silk or an elatic band. Easily replaced with an ace bandage. A korin belt is a piece of elastic with clips at the end. I love mine and can’t live without it, but many people don’t use one. I use it with my ace bandage, but the ace bandage will be enough to get the job done.


A clothespin or thin chip bag clip will do.

Most people don’t use an obi clip, but it will help your obi keep it’s shape as you move around. The easiest thing to do is get a big binder clip for 50 cents at the office supply store and tape one of the arms of the clip to the clip itself. This way, you can flip one arm down, but the other one won’t be able to move.
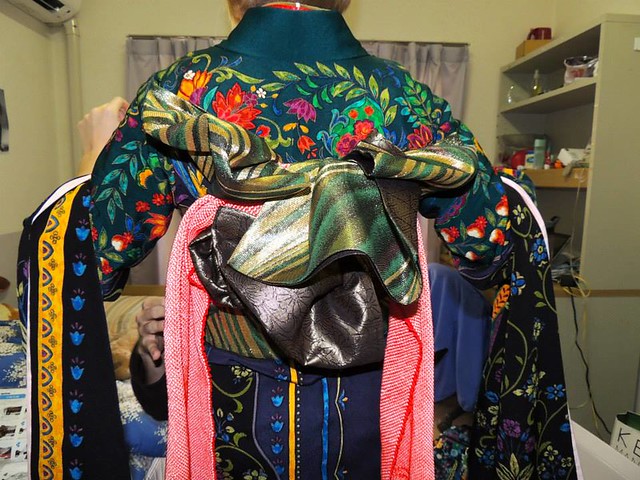
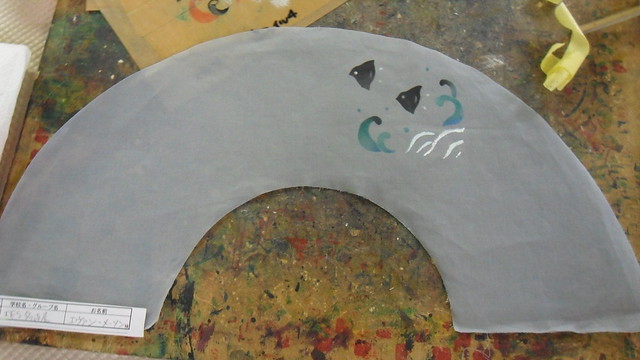
This keeps your obi from crinkling under tension. A piece of cardboard may work once or twice, but you really need something better. Think cheap cutting board like material, or two layers of laminated paper or a plastic folder. As it was so poetically said on Immortal Geisha, it’s good if it goes “wooba wooba wooba” when you shake it. It should be about 15cm wide and 30-40cm long. You also may want to tape around the ends for protection.

Literally “obi-pillow,” this gives almost all obi their shape. It’s a little pad with cords on either end. Easily DIY’ed. Get a piece of cardboard, an old stocking/leg of a pair of pantyhose, and scrap fabric/old (clean) socks/some dish rags, and a rubber band. Take the piece of cardboard, make it 22×7 cm(!!). Get your choice of stuffing and put it on one side of the cardboard. Make it decently fluffy, as the fabric will generally compress over time. Rubber band it to keep the fabric in place. Get your stocking (the thicker/sturdier the better) and put the pad in the middle. Instant makura for probably no money.

Obi-age are lengths of fabrics (usually silk) of various design that covers the obi-makura. You can buy a real one, or choose some fabric from the fabric store that is to your liking. Sheer fashion scarves work here as well. It should be wide enough to completely cover the makura and long enough to be tied around your body once.

Obi-jime are cord (usually silk) that secure the obi knot. For this, I really don’t think there is a good substitute for a real one, but any relatively thin/flat cord could work, as long as it goes around your body about 1.5 to 1.75 times.